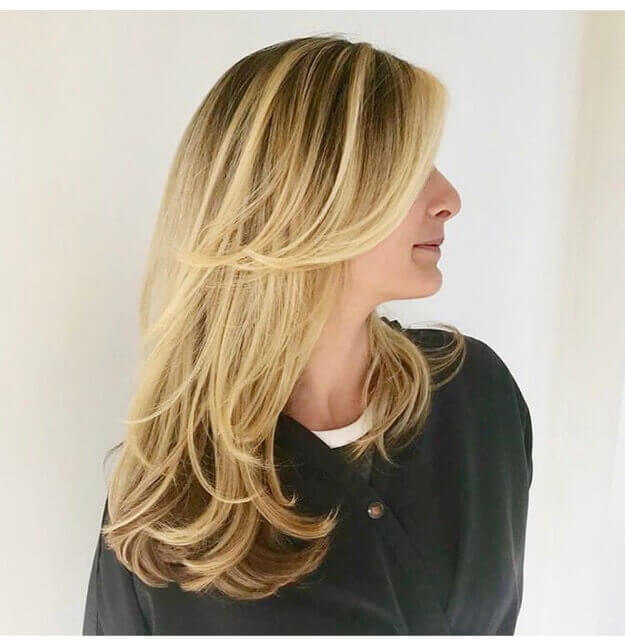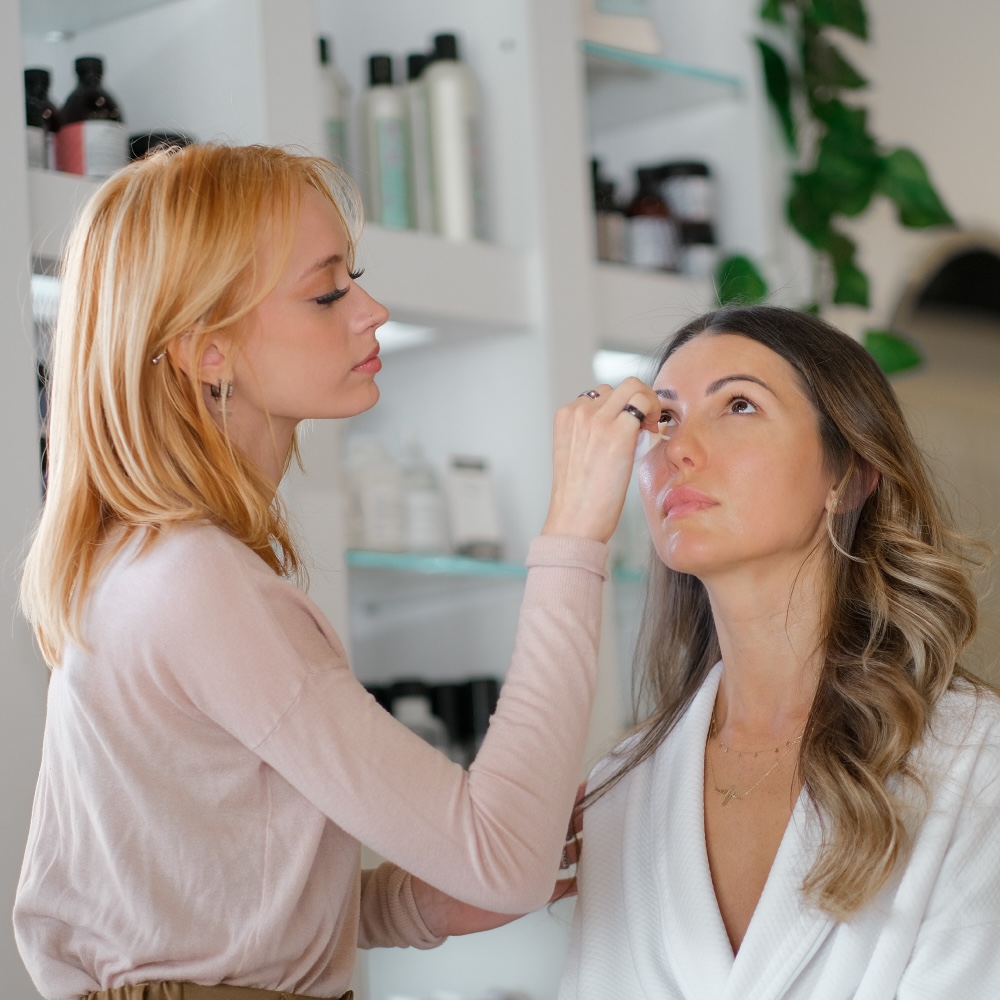

While our stylists at Anushka Spa & Salon located at City Place in West Palm Beach, Florida love nothing more than to polish off your look with a professional blow-dry they also know you can’t possibly stop into the salon every 3 days for a salon blowout.
So now the question is how do you get the perfect blowout at home?
Getting a perfect home blow-dry is actually pretty easy, you just need to follow our Anushka Salon tips and get some practice in!
Step 1 – The Perfect Wash & Condition
It’s super important that your hair is in the best condition as possible before blow-drying as your blow dryer produces A LOT of heat. Washing your locks with a great shampoo and condition specifically formulated for your hair type is super important. Having the right prep to your blow-dry will make all the difference in the look of your blown out tresses. It’s also definitely worth the extra effort to apply a hair mask or leave in conditioner once a week to make sure your strands are getting the replenished nutrients that are cooked out from your blowout.
If you aren’t exactly excited about your blowout prep products, click here to find out the best products you should be using for your locks!
Step 2 – Air Dry Naturally
 Now that you’ve washed your hair with perfect products for your hair type, we wait.
We know, this isn’t exactly what you thought would come next for your perfect at-home blowout. If you’ve ever noticed at the salon, by the time your cut is complete, it has been about 20 minutes or longer since you had your wash.
You want your hair about 60-80 percent dry when you start. As tempting as it may be to start blow drying right out of the shower, this is where heat damage and that super frizz you can’t seem to get away from can start.
Plus, if your hair is already 60-80 percent dry, your drying time is almost cut in half! No more sore arms!
Step 3 – Don’t Forget Your Product
 If you’ve been to the Anushka Salon, you know by now how much our stylists push for hair health. We believe it goes without saying but we will say it again, protect your hair! Your styling tools including your blow dryer can most definitely cause some unwanted damage to your tresses, but a quality heat protection spray will minimize this damage.
If you are looking for a great heat protectant check out Kerastase Resistance Ciment Thermique available at Anushka Spa & Salon. This product is part of the Kerastase Resistance Collection including shampoo, conditioner and much more to complete your look!
Our stylists recommend applying Kérastase Resistance Ciment Thermique to your damp locks for a shiny, damage free finish. To achieve a super voluminous blowout, add Kerastase Resistance Volumifique Impulse Amplifying Mousse to your roots at this stage for an extra boost.
Step 4 – What’s Your Finished Look?
 Now is the time to decide between a super sleek and straight finish or a voluminous bounce curl finish. As we are sure you can assume, these two distinct looks require two totally different techniques. So, you’ll need to get ready to prep for whichever look you choose.
If you are going for the super sleek look, you’re going to want to grab your paddle brush.
But, if you’re going for a classic blow-dry reach for your round brush. You can also prepare by grabbing your Velcro rollers to hold each small section in place as it cools for a more defined curl, per our blowout specialists at Anushka Salon.
Step 5 – The Blowout Event
 You’re going to want to start out by working your hair into small section. Our stylists recommend starting from the nape of your neck upwards for as your hair will be easier to work with.
** This is super important. Attach your blow dryer concentrator nozzle to your hair dryer. This is the odd-looking piece everyone seems to throw in the back of their drawer and never uses.
Now you can begin. Start from the hair shaft closest to your root to smooth the hair cuticles to achieve the super shiny finish you walk out of the salon with. It’s important to keep your blow dryer about 6-8 inches away to prevent damage to both your hair and your brush.
Looking for A Classy, Bouncy Blow-dry? – To create maximum volume, it’s important to blow your hair away from the direction in naturally falls. While using your round brush, lift the hair away from the root and only blow dry from underneath. Once you’ve dried your root section, pull your brush down the lengths of your hair while rolling the ends for smooth super bouncy curls.
How About Sleek and Smooth? – Using your large panel brush, simply comb through the lengths of your hair while following with your hairdryer. This technique smooths out your hair while still keeping it super shiny.
Face Full of Fringe? – When it comes to face shaping layers or fringe, blow drying in the opposite direction will never give you the flattering finish you’re looking for. This section of your hair MUST be blown-out forward, yes, this means over your face. You can use your round brush to curve your ends depending on how you want your hair to fall.
Step 6 – Extend the Life of Your Blowout
If you are like our stylists, blowing out your hair every day can seem like such a chore. To extend the life of your hard hair work, sleep with your hair in a loose high bun with one clip to prevent kinks. This will help your hair hold its luscious volume and bouncy curls longer.
In the morning, just shake it out for instant perfection. Lastly, adding a bit of perfect dry shampoo between washes will keep your roots looking fresh while adding volume. Our stylists love Oribe Gold Lust Dry Shampoo it’s super light and doesn’t give you the caked-up feeling of other brands, plus it smells great!
Follow these Anushka Salon tips and you’ll have the best at-home salon-perfect blowout! Be sure to share your finished look with us @AnushkaSpa.
