Permanent makeup—let’s talk about it! More specifically, let’s dive into the latest microshading techniques for the most natural-looking finish you can imagine. First, we’ll explore everything you need to know about the microblading application process that can render the most gorgeous, natural-looking result…no need to worry about overly dramatic, extra-bold results that just don’t suit your face.
What is Microshading?

Also called microfeathering, microshading is essentially a less intense version of microblading that doesn’t leave you with as dramatic of a result. This type of permanent makeup helps you get the eyebrows you’ve always dreamed of without having to draw them on every day or worry about them being uneven or rubbing off. Additionally, this technique suits those who want to look their best but aren’t looking for a dramatic result or super-bold brows.
We’ll get into the steps of the microshading process in a moment, but let’s first talk about how to prepare your skin for this process.
How to prepare your skin for the procedure
To leave you with the best result, there are some must-know steps regarding microshading. The clinic you book may offer more specific instructions, but generally, these are some of the best practices to follow before your permanent makeup appointment.
- Avoid strenuous exercise for at LEAST an hour before your microshading appointment. This helps keep the area clean, reduces inflammation, and make the microshading process more comfortable.
- Steer clear of the sun for a few days before microshading. Sun exposure can damage the skin, making microshading more difficult and reducing its effectiveness.
- Try to avoid alcohol for at least three days before microshading—this will ensure your body is rested and hydrated enough for the microshading process.
- Avoid any exfoliation in the area for at least 48 hours before microshading. This can also make microshading more difficult and reduce its effectiveness.
- Don’t pluck, wax, or do any other kind of hair removal on the area for about a week before your treatment.
The Step-by-Step Process of Microfeathering

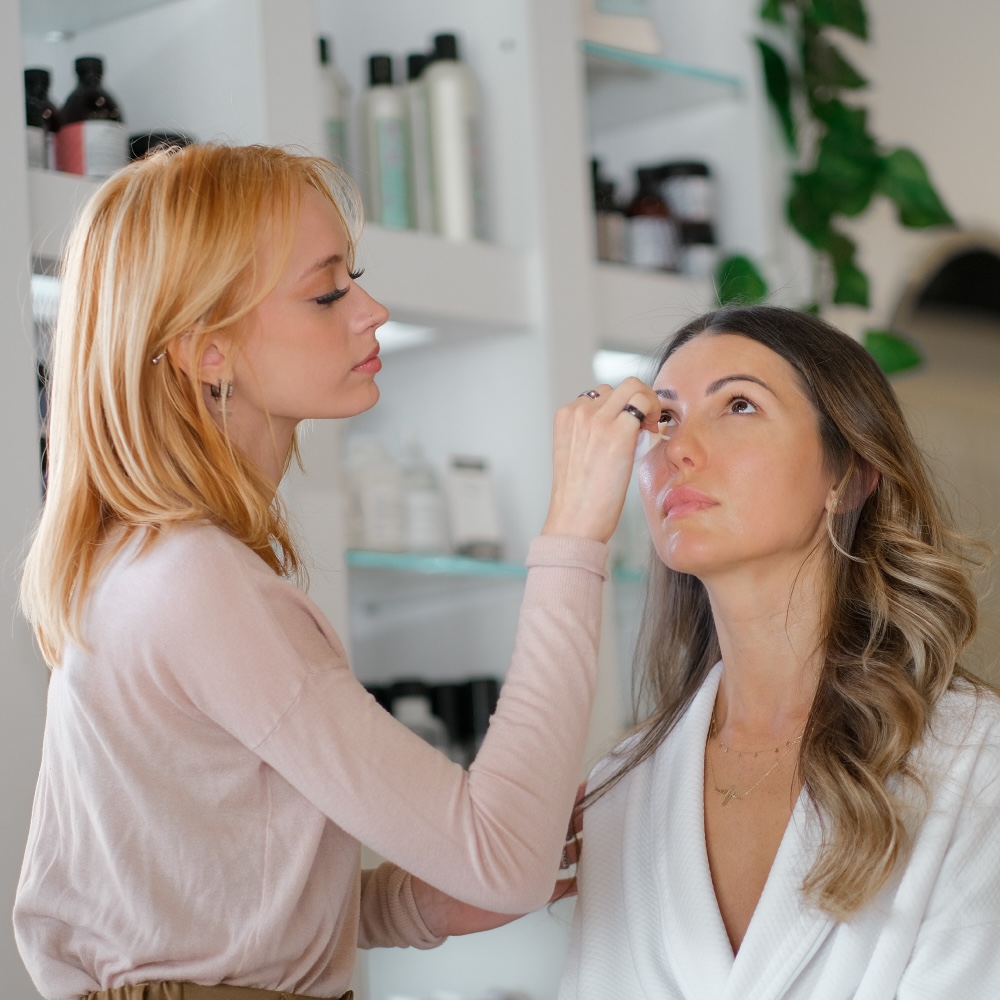
Now let’s get into the microshading process. Remember: microfeathering is a form of microshading that uses needle-like strokes to create a natural, light look. But whether you’re getting a more extreme version done or the lightest, most natural-looking result, there are some basic steps most permanent makeup technicians will follow.
- Step 1: Your microshading technician draws the desired eyebrow shape with a pencil before the actual process begins. This helps your microblading end up exactly where you want it to be, and you get a brow shape you love! You can discuss any changes with the technician before microshading begins.
- Step 2: The microshading technician will apply a topical numbing cream to the area, which should help make the process as comfortable as possible.
- Step 3: Once your microshading technician is sure that you are happy with the shape and design of your eyebrows, they will proceed with microfeathering using either a manual or digital microblading device. With this type of microshading, very fine needles are used to create teeny tiny hair strokes in the skin to replicate natural brow hairs. This creates a light, feathery look—perfect for those who want something more subtle than traditional microblading techniques.
- Step 4: When they’re done, your technician will gently clean any excess pigment from the area.
- Step 5: Lastly, your microshading technician may apply an aftercare ointment to the treated area to keep it hydrated and protected. They will also provide you with more specific aftercare instructions for you to follow at home.
Tips for Using Aftercare Ointment

Because it’s such an essential part of the process, let’s go over some tips for using the aftercare ointment correctly (as well as some other aftercare tips):
- Make sure to apply the ointment as directed by your technician. Usually, this means using it twice daily or as often as they recommend. This helps you keep the area clean and hydrated, which is key for a successful result. There’s no need to apply too much ointment, either. In fact, the size of a grain of rice is usually suitable for most people!
- Avoid touching or rubbing the treated area, as this can disrupt the healing process and cause unnecessary irritation.
- Be careful not to get any makeup or other products (except the aftercare ointment) on the treated area until it has fully healed—this could lead to infection or other complications.
- Speak to your technician if you experience any redness, itching, swelling, or other discomfort in the time after your treatment. They may be able to provide advice on how to manage these symptoms or recommend a different aftercare ointment.
- Follow the technician’s instructions for touch-up appointments, which can help maintain your desired results.
By following all of the above steps and tips, you should be well on your way to achieving natural-looking eyebrows with microshading! And remember—microblading aftercare is an important part of the entire process you can’t overlook. So take your time, carefully listen to your technician’s instructions, and enjoy your gorgeous new brows.
Microshading Healing Process & Side Effects

After your microfeathering treatment, we know you might have questions about what to expect from the healing process and any side effects that arise.
Usually, you’ll be instructed to return for a touch-up appointment four to six weeks after the initial application. This is done to adjust or refine any microshading areas that may have healed differently than planned and ensure a perfect result!
After your appointment, it’s normal to experience some redness, irritation, and swelling in the treated area. This can last up to a few days after microshading but should subside with proper care.
To ensure your microfeathering heals appropriately and lasts for as long as possible (up to a few years for some people), follow all of the post-treatment instructions your microblading technician gives. These may include the tips we shared above, including avoiding sun exposure, keeping the microshading area hydrated and moisturized, not picking at scabs, or peeling off any pigment that might have flaked off during the healing process.
When you take these steps, you’ll be able to maintain your microshaded brows for a beautiful, natural-looking finish! And remember: you can call your microshading technician with any questions or concerns you have about your microblading aftercare. They’ll be happy to help make sure you get the most out of your microfeathering treatment!
Difference Between Microfeathering and Microblading

If you’ve been researching your different options for permanent makeup, you may be wondering what the difference is between microfeathering and microblading. Both microshading techniques use needle-like strokes to create a natural-looking eyebrow line. However, microfeathering produces finer, softer lines that look a lot more like your own brow hair. This makes it ideal for those who want a more subtle microshading effect or are looking to fill in sparse areas of their brows.
On the other hand, microblading adds more definition and intensity than microfeathering and can also be used to rebuild an eyebrow shape completely. Because it’s a darker and more intense option, these results might last longer than microfeathering.
Both options are great—it just depends on the look you want.
Is Microshading Right for Me?

It’s helpful to understand some of the contraindications of microshading before you decide if it is right for you.
Here are a few reasons this kind of permanent makeup might not be the right fit for you.
You’re allergic to tattoo ink or numbing agents
If you have a history of sensitivity or allergy to tattoo ink, microshading might not be the best option. Similarly, if you are allergic to certain numbing agents used in microshading procedures, it’s best to consult your microblading technician before starting any treatments.
You recently had a chemical peel
You should wait at least six months after getting a serious chemical peel before considering microshading. This gives your skin enough time to heal and recover fully. Speak with your technician to determine the best timing for microshading after a chemical peel.
You have an active skin infection
It’s crucial to get any current infections or skin problems cleared up before you begin microshading treatments. If your technician suspects that you may have an active infection, they will likely recommend postponing microshading until it has fully healed.
Age restriction
Microshading should not be performed on anyone under the age of 18 due to potential risks associated with permanent makeup procedures like infection or an adverse reaction.
You have a history of hypertrophic scarring or keloids
Because microshading and microblading involve making small incisions in the skin, it can be a risk to those with a history of hypertrophic scarring or keloids. If you know you’re prone to these conditions, microshading may not be the right fit for you.
You’re pregnant or breastfeeding
You might need to wait until after pregnancy or breastfeeding to get microshading. There are a few reasons for this, including how hormones can affect the healing process and cause microblading results to be unpredictable. And, of course, the safety of your baby is paramount!
You have very oily skin
Oil buildup can cause microshading pigment to fade more quickly, so microshading is not the most ideal option if you have very oily skin.
FAQs About Microshading: Techniques and More

Now that we’ve covered many of the basics when it comes to this type of permanent makeup, let’s move on to some of your top questions on the subject.
How do I find a qualified technician for microshading?
Do your research before choosing a microshading technician and clinic to attend. Note if the technician is qualified and experienced in this type of permanent makeup, has good reviews from past clients, and uses quality materials. Additionally, ensure they follow all safety protocols, such as using disposable needles and appropriate sterilization techniques. Different states have different requirements and standards for this. Learn about the Florida permanent makeup application licensing requirements here.
Does microshading hurt?
Everyone’s pain tolerance is different. For most, microshading typically causes a mild stinging sensation you can minimize with numbing creams. Your technician can also provide you with additional tips for making microshading more comfortable.
How often should microshading touch-ups be done?
Many microshading results can last over a year, but it’s vital to keep in mind that lifestyle factors like sun exposure and skin type can cause microblading pigment to fade. That said, a microshading touch-up every six months might be the way to go, as this helps your results last and look their best.
Can microshading be removed?
If you’re unsatisfied with microshading results or simply want to change your look, microshading can typically be removed using laser treatments. However, this process should be handled by a professional (like the ones at Anushka) and done with great care. Typically, it’s best to consult the microshading artist who performed the original treatment before scheduling any laser treatments.
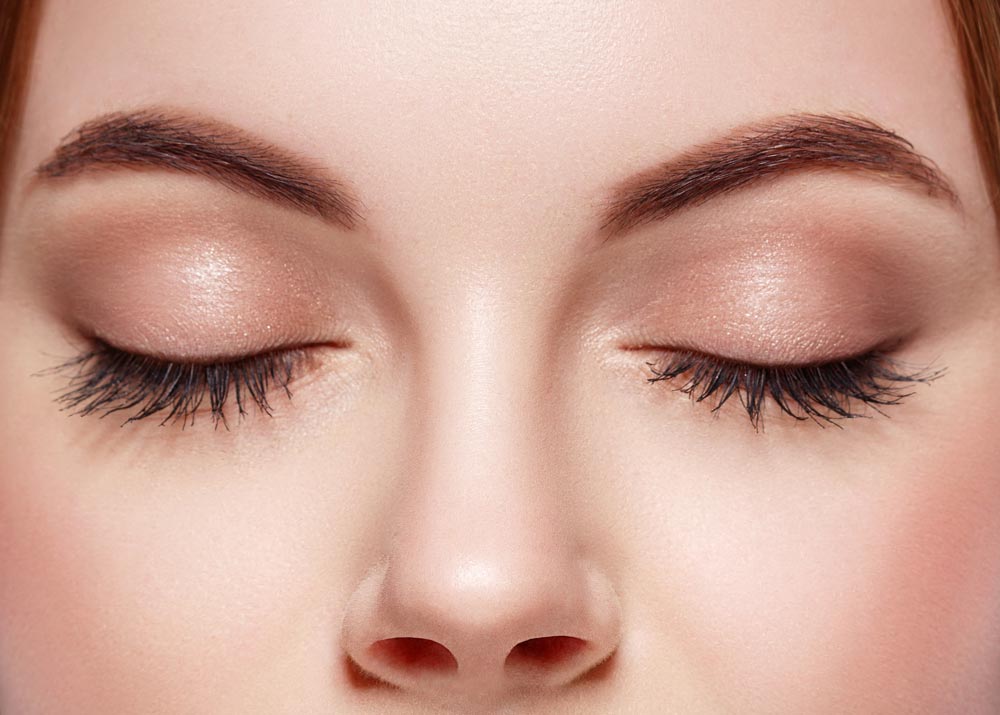
Does microblading look natural?
Something we love about microshading is how it can provide an incredibly natural-looking finish. When done properly and by skilled professionals, microshading looks like tiny hairs and gives off the appearance of trendy, flattering, and fuller brows with a soft texture.
Other Types of Permanent Makeup

Next, let’s discuss some of the other types of permanent makeup you may have heard about, including upper and lower eyeliner and lip liner.
Permanent eyeliner
Eyeliner is one of the most popular types of permanent makeup. Known for creating a more dramatic and defined look, many people love how this makes their eyes stand out. Permanent eyeliner can last up to 10 years, depending on how often you get touch-ups. But again, it also depends on your skin type, age, lifestyle factors, and other variables.
Permanent lip liner
Another popular form of permanent makeup is lip liner. This is the perfect way to create a defined and symmetrical lip shape!
Lip and cheek blushing
Along with getting your lips lined, another fun way to add definition and color to your face is through lip and cheek blushing. This technique enhances the natural rosy colors in your cheeks and lips for a subtle, healthy-looking finish.
Try the Latest Microshading Techniques at Anushka Spa
Are you ready to try out the latest microshading techniques at Anushka Spa? Our team of experienced technicians can help you get the natural-looking results you want! We use only the highest quality products, and each permanent makeup treatment is tailored to your unique needs and end goal for the process. Contact us today to book your appointment!